In the world of music production, sound quality is everything. Whether you’re recording vocals, instruments, or electronic tracks, achieving professional-level clarity and detail is crucial.
A song can have great lyrics and melodies, but if the sound quality is muddy, distorted, or inconsistent, it loses its impact on the listener.
Sound quality refers to the overall clarity, depth, and fidelity of a recording. It’s influenced by everything from microphone choice and room acoustics to audio interfaces and mixing techniques.
To improve it, one must take a holistic approach that covers both the technical and creative sides of recording.
Whether you’re working in a professional studio or a bedroom setup, your ability to produce high-quality audio depends on how well you understand the signal chain.
From input to output, each step affects the end result—and each has opportunities for improvement.
This guide will walk you through key factors that influence sound quality, including gear selection, acoustic treatment, recording practices, and post-production techniques that make a noticeable difference.
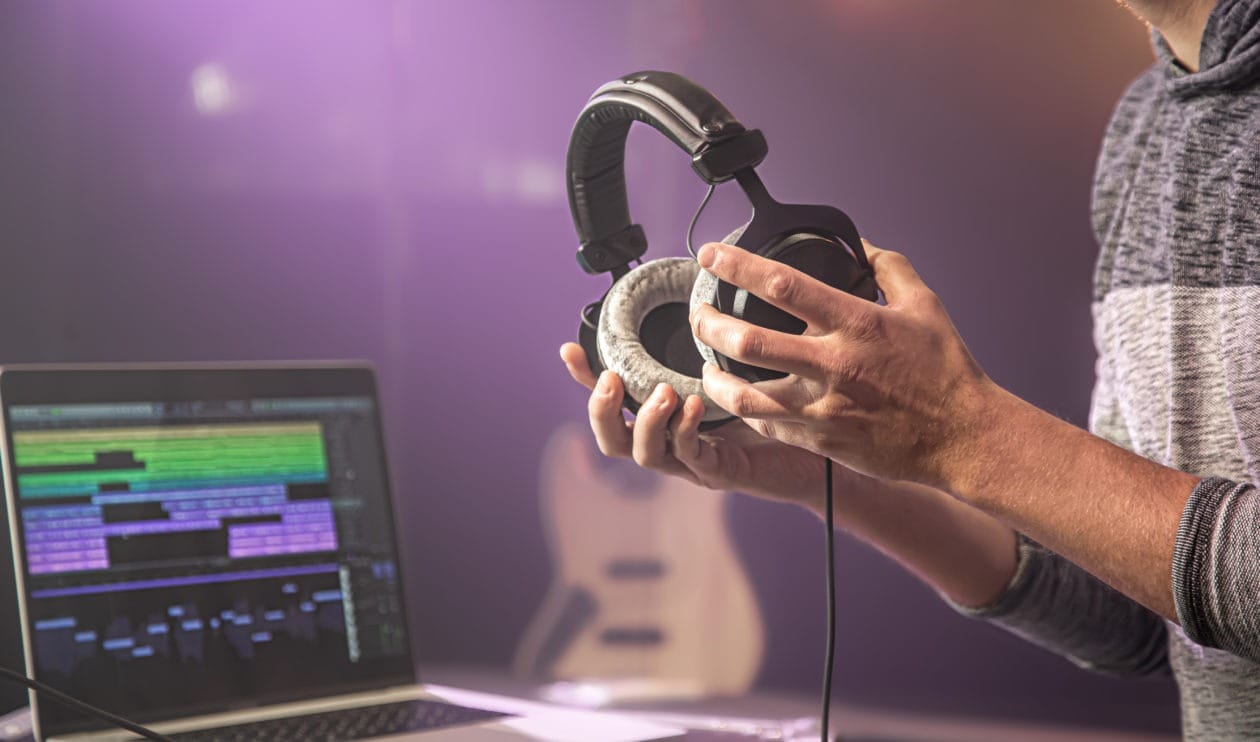
Sound Quality: Choosing The Right Microphone And Audio Interface
Your microphone is the first link in the recording chain—and often the most important.
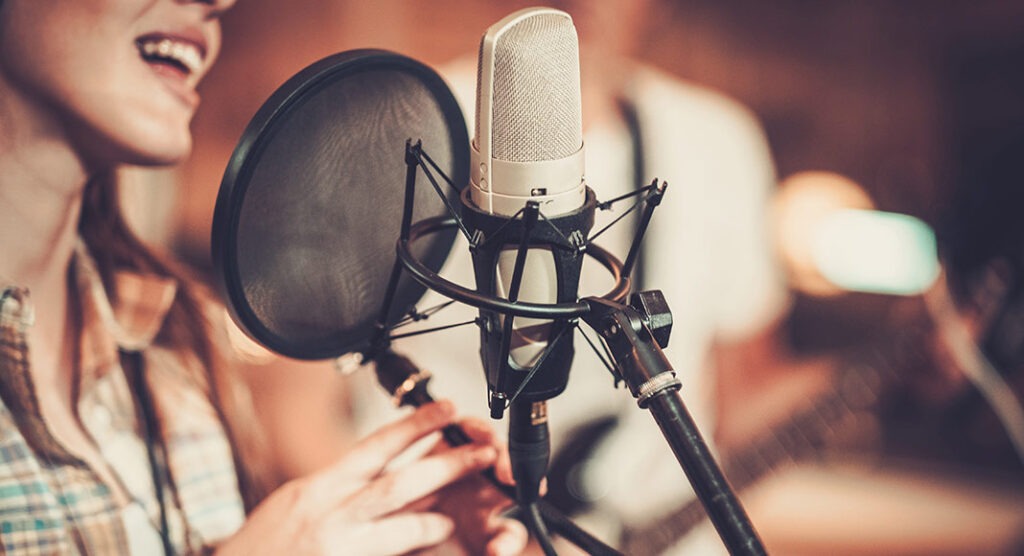
To capture great sound quality, you must match your microphone to the sound source and environment. For studio vocals, condenser microphones are usually the top choice due to their sensitivity and wide frequency range.
Dynamic microphones, while less sensitive, are excellent for loud sound sources like guitar amps or drums. They’re also useful in untreated rooms where condenser mics might pick up too much background noise.
Just as important is the audio interface. This device converts analog signals into digital data for your computer.
A high-quality interface with good preamps and high-resolution converters will ensure cleaner recordings. Look for an interface that offers at least 24-bit/96kHz recording to maintain professional sound quality.
Additionally, consider microphone placement. Even the best mic will produce poor results if it’s aimed incorrectly or placed too far from the source. Use pop filters for vocals, and experiment with angles and distances to find the sweet spot.
The right microphone and interface combo sets the foundation for excellent sound quality before you even hit record.
Optimizing Your Recording Environment For Clean Acoustics
Even with the best gear, your sound quality can suffer if your recording space isn’t acoustically treated. Unwanted reflections, background noise, and poor room balance can introduce phase issues and muddy your recordings.
Start by identifying reflective surfaces. Bare walls, ceilings, and floors bounce sound waves, creating echoes and standing waves.
Acoustic foam panels, bass traps, and diffusers can help absorb and scatter these reflections, improving clarity. You don’t need to treat the whole room—just focus on the key reflection points near your recording area.
If budget is a concern, even bookshelves, thick curtains, rugs, and furniture can act as basic acoustic treatment. What matters is breaking up large, flat surfaces that reflect sound back into your mic.
Try to reduce background noise as much as possible. Turn off fans, unplug unnecessary electronics, and record at quieter times of day. If needed, use isolation shields or portable vocal booths to reduce ambient noise.
An acoustically controlled space ensures that your mic captures only what you want, leading to a cleaner, more professional sound quality.
Sound Quality: How Preamps, Cables, And Converters Make A Difference
Many creators overlook the small components that can significantly affect sound quality. Preamps, cables, and analog-to-digital (AD/DA) converters are all critical elements that shape your signal before and after it enters your DAW.
Preamps amplify the signal coming from your microphone. A high-quality preamp will boost the signal cleanly, preserving tonal characteristics without adding unwanted noise or coloration.
Some preamps even add pleasing warmth or analog saturation that enhances vocals or instruments.
Cables matter more than people realize. Cheap or poorly shielded cables can introduce interference, hum, or signal loss. Invest in balanced XLR cables and keep them as short as needed to maintain signal integrity.
Converters in your audio interface determine how faithfully the analog signal is turned into digital and vice versa. Higher-end interfaces often have better converters that produce more detailed and transparent recordings.
When every component in your signal path is optimized, the cumulative result is clearer, more accurate sound quality that stands out—even before mixing.
Mixing And Mastering Techniques That Enhance Clarity
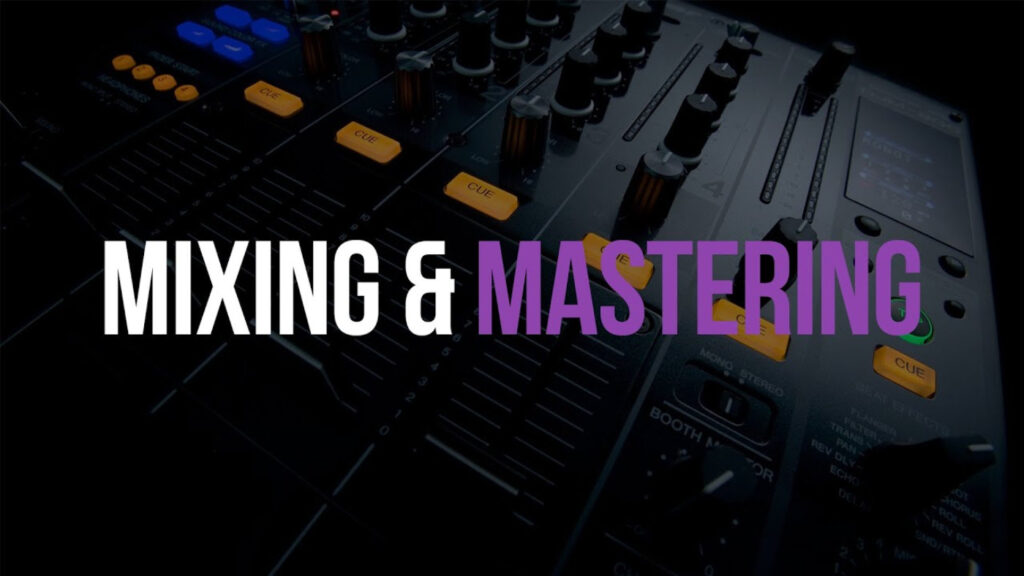
Mixing and mastering are your final opportunities to improve sound quality. These processes require both technical knowledge and a good ear to shape the raw recordings into polished productions.
Begin your mix with gain staging. Proper levels prevent clipping and ensure that all elements sit well in the mix. Use EQ to carve out space for each instrument—removing low-end rumble from vocals or adding air to acoustic guitars can make a big difference.
Compression helps control dynamics and adds consistency to recordings. However, too much compression can destroy sound quality by making the mix lifeless or introducing pumping artifacts. Apply it selectively and subtly.
Reverb and delay add depth but should be used sparingly to avoid washing out the mix. Consider using parallel processing to blend effects more naturally. Panning instruments left and right creates stereo width, giving each element room to breathe.
In the mastering stage, use limiters, multiband compressors, and EQ to balance the overall mix and bring it to commercial loudness levels.
Test your master on different playback systems (headphones, speakers, phone) to ensure that your sound quality translates well everywhere.
Sound Quality: Common Mistakes That Degrade Your Recordings
Improving sound quality isn’t just about what you do—it’s also about avoiding common errors. Many amateur producers unknowingly sabotage their recordings with a few bad habits.
One of the biggest mistakes is recording at the wrong gain level. Too high, and you’ll clip the input, causing harsh digital distortion.
Too low, and you’ll raise the noise floor when boosting the volume later. Aim for consistent peaks around -12 to -6 dBFS when recording.
Another issue is poor microphone technique. Placing the mic too close can cause boominess or plosives, while too far can make the recording sound thin or distant. Always experiment with placement and use tools like pop filters and shock mounts.
Ignoring room acoustics is another major pitfall. Many producers spend a fortune on gear but record in reflective, untreated rooms. This undermines all other efforts to capture great sound quality.
Finally, don’t rely on built-in effects or overused presets. These often add unnecessary processing that muddies your mix. Learn to trust your ears and make intentional decisions that enhance rather than mask your recordings.
Avoiding these common mistakes helps maintain the integrity of your audio and ensures the highest possible sound quality from start to finish.
See you in the next post,
Anil UZUN