Recording music demos has never been more accessible than it is today. With modern technology and affordable equipment options, musicians can create high-quality demo recordings without needing a professional studio environment.
Whether you are preparing material for producers, applying to a music school, building a portfolio, or simply shaping new ideas, the ability to record your own demos at home is an important creative advantage.
Many successful artists have launched their careers by starting exactly this way, using simple setups, improvised acoustic spaces and free software to capture their sound.
Learning how to approach the process strategically helps you produce cleaner, more expressive recordings while staying within budget.
Even though professional studios provide ideal conditions, home studios can deliver highly satisfying results when properly planned. A minimal yet efficient setup allows you to focus on your music rather than equipment limitations.
In this guide, you will find detailed tips on essential tools, acoustic adjustments, free recording software, vocal-instrument balancing and the fundamental steps of mixing and mastering.
With the right techniques, recording music demos at home becomes not only practical but creatively empowering.
Recording Music Demos On A Budget: Essential Tools And Setup
To begin recording music demos, you do not need expensive hardware. A compact, well-selected set of tools will give you everything necessary to capture clean audio. The first and most important component is an audio interface.
Even entry-level interfaces with one or two inputs provide surprisingly high-quality preamps and low-latency performance. These devices allow you to connect microphones or instruments and convert the signal into a digital format with clarity.
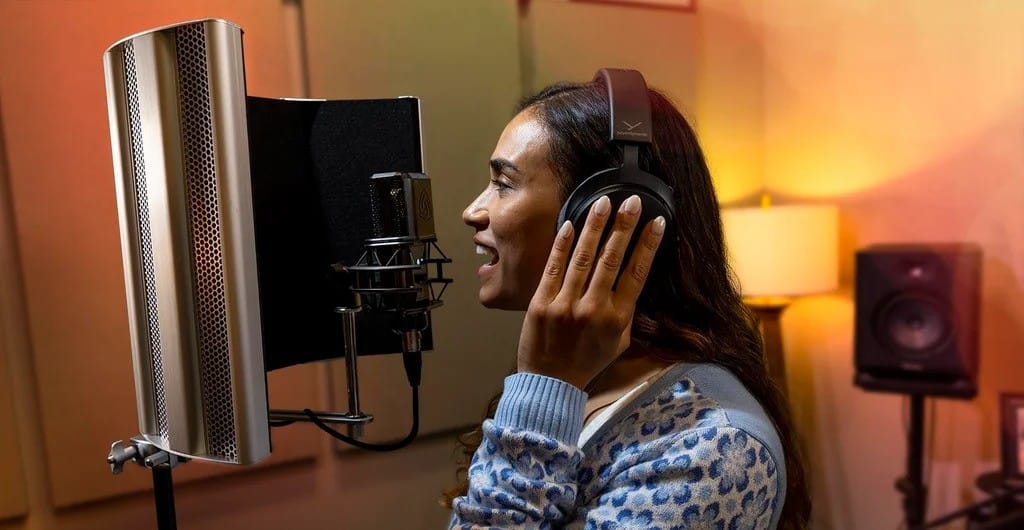
A condenser microphone is the next essential item. This type of microphone captures detail, air and vocal expression more naturally than dynamic microphones, making it ideal for demo recordings.
For those with extremely limited budget, USB microphones offer an alternative, although traditional XLR microphones paired with an interface usually deliver better results.
Closed-back headphones should also be part of your setup to eliminate sound leakage and help you clearly hear subtle frequencies during both recording and mixing.
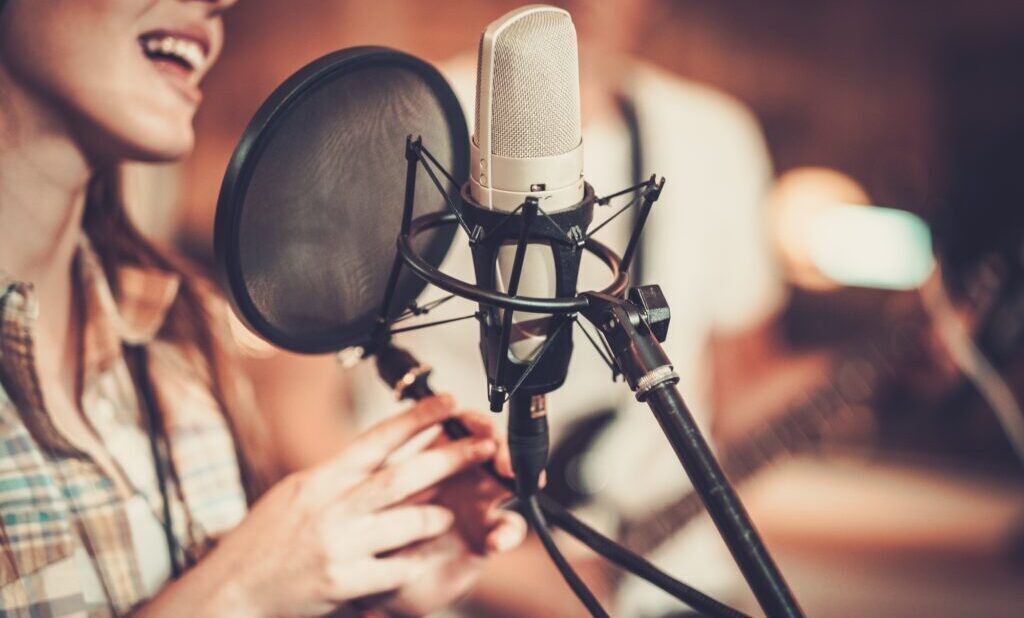
Additionally, basic accessories such as a microphone stand, pop filter and cables improve the recording experience. A pop filter prevents harsh plosive sounds, while a stable stand ensures consistent microphone placement.
Even with minimal spending, assembling this setup enables musicians to begin recording music demos at a respectable quality level that is more than adequate for early-stage submissions or creative development.
Creating The Right Acoustic Environment At Home
One of the biggest challenges when recording music demos at home is managing acoustics. Rooms with hard surfaces cause reflections, echo and unwanted noise that affect recording quality.
Fortunately, you can significantly improve your environment using affordable or even household materials. Soft furnishings like rugs, curtains, sofas and blankets absorb sound and reduce harsh reflections.
Positioning these items near walls, windows and floors helps tame the room’s natural reverb.If you want more focused results, consider creating a small vocal corner.This can be done with portable acoustic shields or by placing thick blankets behind the microphone.
Avoid recording in empty rooms because they emphasize echo and make vocal recordings sound distant. The microphone should be kept away from corners, as low frequencies accumulate there.
Choosing a room filled with furniture often provides better natural damping than minimalistic spaces. Making small acoustic adjustments not only improves clarity but also reduces mixing effort later.
Even without professional panels, basic adjustments can transform a regular room into a practical recording space. These optimizations allow you to continue recording music demos at home while maintaining acceptable audio quality.
Recording Music Demos With Free Software And Plugins
A high-quality demo does not require expensive digital workstations. Many free or low-cost DAWs (Digital Audio Workstations) provide all the necessary features for recording music demos.
Popular free options include Audacity, Cakewalk by BandLab and Tracktion Waveform Free. macOS users can benefit from GarageBand, one of the most user-friendly and capable beginner platforms available.
Beyond the DAW itself, various free plugins enhance your mix and polish your recordings. Essential tools such as equalizers, compressors, reverbs and delays are widely available in free versions.
These plugins help you clean up vocal recordings, control signal levels and shape the overall character of your demo. Many music producers rely on free third-party plugins even in professional projects, proving that cost does not limit creative potential.
Using templates can further speed up your workflow. Setting up a vocal track with pre-loaded EQ and compression, along with a reverb bus, saves time and creates consistent results.
The combination of accessible software and simple templates makes recording music demos fast, efficient and cost-effective.
Balancing Vocals And Instruments For A Clean Mix
A demo’s impact relies heavily on how well the vocals and instruments balance each other. Incorrect gain levels lead to distortion or weak signals, so proper gain staging is essential.
When recording music demos, set the input levels high enough to capture detail but low enough to prevent clipping during loud passages.
Maintaining this balance preserves the recording’s natural dynamics. For vocals, maintaining a consistent distance of 15 to 20 centimeters from the microphone helps achieve an even tone.
A pop filter minimizes harsh consonant sounds and protects the microphone from sudden bursts of air. Instruments such as guitars or keyboards can often be recorded directly through the audio interface for clean, noise-free results.
Creating a balanced mix involves using EQ to carve space for each sound. For example, slightly reducing low-mid frequencies on guitars leaves more room for vocals to stand out.
Light compression helps maintain vocal consistency, while subtle reverb adds depth without overshadowing clarity. When done correctly, recording music demos results in a polished and expressive sound that highlights the essence of your musical idea.
Recording Music Demos: Mixing And Mastering Techniques
Mixing and mastering are the final stages that transform a raw recording into a finished demo. Even on a low budget, simple techniques can significantly improve the overall quality.
Start by adjusting the volume levels of each track to create a natural balance. Avoid extreme EQ changes; instead, use small cuts to remove muddiness or reduce harsh frequencies. This helps vocals and instruments remain clear and distinct.
Compression is another key tool in shaping your mix. Applying moderate compression to vocals ensures steady volume levels and enhances presence. For instruments, gentle compression can add energy and cohesion.
Reverb and delay should be applied carefully; too much creates a washed-out sound, while subtle amounts offer a sense of space. Mastering involves preparing the final stereo track.
Apply a limiter to raise the track volume without distortion and use EQ to adjust the overall tonal balance. Basic mastering plugins can deliver great results even when you are recording music demos on a tight budget.
The goal is not to achieve professional studio loudness but to create a polished and listenable version of your song that clearly communicates your musical idea.
See you in the next post,
Anil UZUN