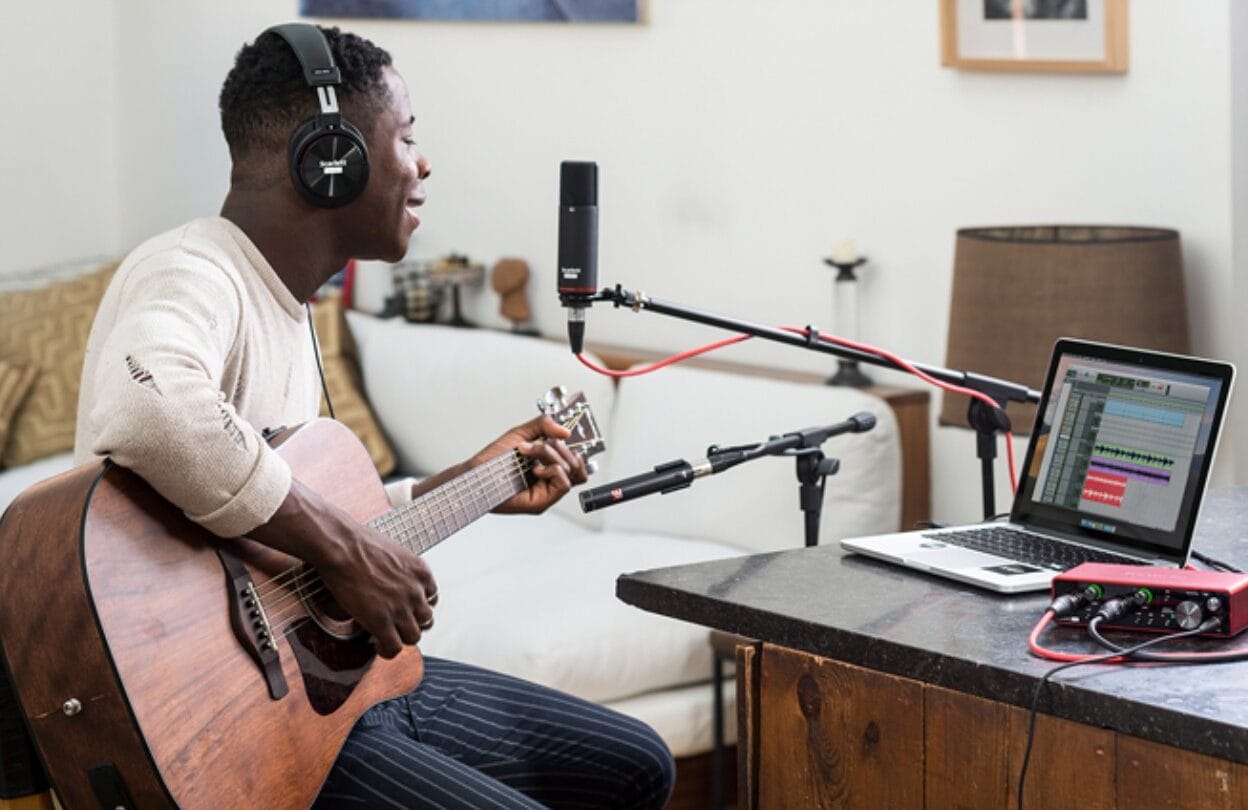
A good home recording setup does not have to be expensive or complicated. Today, beginners can record vocals, acoustic instruments, demos, covers, and song ideas at home with only a few essential tools.
With a basic microphone, audio interface, headphones, recording software, and a quiet room, it is possible to create clean and usable recordings without renting a professional studio.
Many people believe that recording quality depends only on buying the best microphone. In reality, the room, noise level, recording technique, vocal performance, and gain settings are just as important.
A simple setup used correctly can often produce better results than expensive gear used in a poor environment. The goal of a low budget recording system is not to copy a full studio.
The goal is to create a reliable space where ideas can be recorded clearly and improved over time. A strong home recording setup should be practical, easy to use, and suited to the type of music being recorded.
For songwriters and vocalists, the priority should be clean vocals, controlled background noise, and a comfortable recording workflow. This guide explains the essential equipment, room treatment ideas, budget friendly gear choices, vocal level tips, and basic mixing steps needed for better recordings at home.
Home Recording Setup Essentials For Beginners On A Small Budget
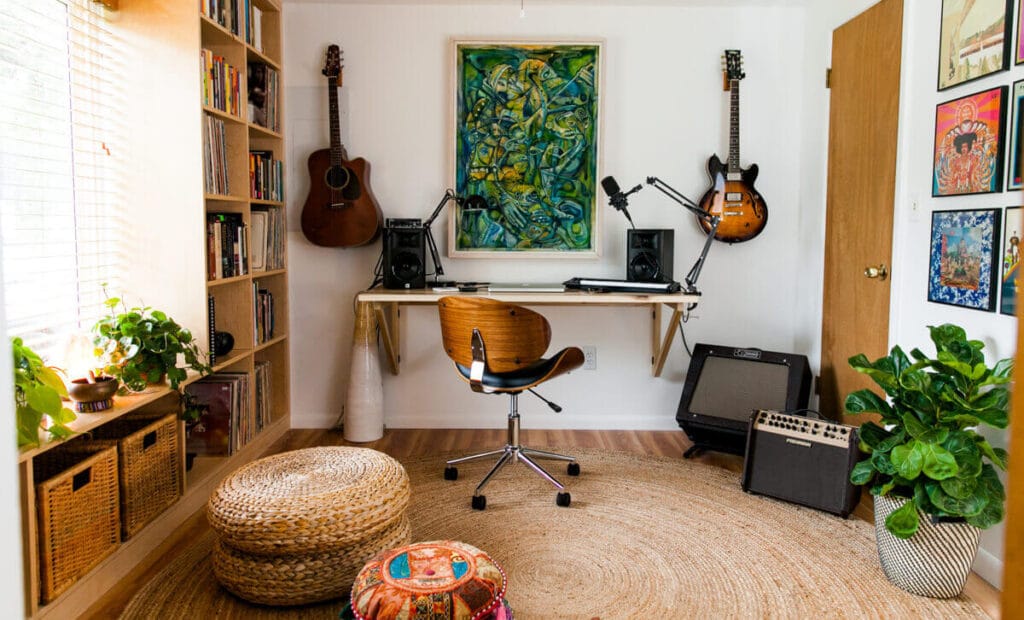
The first step in building a home recording setup is choosing the right essentials. Beginners do not need a large collection of equipment. A small but reliable setup is usually enough to start recording songs at home.
A computer or laptop is the main recording center. It should be able to run recording software smoothly without freezing during sessions. Most modern computers can handle basic vocal and instrumental recording.
Recording software is also necessary. Many free or affordable digital audio workstations can record vocals, arrange tracks, edit takes, and apply basic effects. Beginners should choose software that feels simple rather than overly complex.
An audio interface is important because it connects the microphone to the computer and improves recording quality. A small interface with one or two inputs is usually enough for solo vocalists or songwriters. A microphone is another key part of the setup.
Condenser microphones are often preferred for detailed vocal recordings, while dynamic microphones can work better in noisy or untreated rooms. Closed back headphones are useful during recording because they prevent the backing track from leaking into the microphone.
A pop filter, microphone stand, and good cables may seem simple, but they make recording easier and cleaner. A balanced home recording setup depends on all these small parts working together.
Home Recording Setup Tips For Room Acoustics And Noise Control
Room sound has a major effect on any home recording setup. Even a good microphone can sound poor in a room with too much echo, background noise, or hard reflective surfaces.
Empty rooms with bare walls, glass windows, and hard floors usually create unwanted reflections. These reflections can make vocals sound distant, harsh, or unclear. Soft materials help reduce this problem.
Curtains, rugs, bookshelves, fabric furniture, blankets, and thick clothing can absorb some reflections and make the room sound more controlled. The recording position also matters.
Recording in the exact center of a room is not always ideal. Standing too close to a wall can also create unwanted reflections. Testing different positions can help find a cleaner sound.
Noise control is just as important as acoustic treatment. Traffic, air conditioners, fans, computer noise, and outside sounds can easily enter the recording. Choosing the right time of day can improve results.
Recording when the house or neighborhood is quieter often makes a noticeable difference. A simple vocal corner can be created with soft materials around the recording area.
This does not replace professional treatment, but it can reduce harsh room reflections. A clean home recording setup begins with a quiet space. Controlling the room often improves recordings more than buying more equipment.
Budget Friendly Microphone Audio Interface And Headphone Choices
When building a low cost studio, equipment choices should be practical. The goal is to buy tools that fit the recording environment and actual needs. For microphones, beginners usually choose between condenser and dynamic models.
Condenser microphones capture more detail and are popular for vocals. However, they can also capture room noise and reflections more easily. Dynamic microphones are often more forgiving in untreated spaces.
They may not capture the same level of detail, but they can reject more background noise and produce cleaner results in difficult rooms. An audio interface should have stable drivers, low noise, and enough inputs for the user’s needs.
A solo artist usually needs only one microphone input. A singer songwriter who records vocals and guitar may prefer two inputs. Headphones should be closed back for recording.
This design reduces sound leakage and helps the performer hear the backing track clearly without sending it into the microphone. Beginners do not always need studio monitors immediately.
In an untreated room, monitors can be misleading. Good headphones may be more useful at the start. Accessories also matter. A pop filter reduces harsh breath sounds, while a stable microphone stand helps maintain a consistent position during recording.
A smart home recording setup uses the budget carefully. It is better to buy a few reliable tools than many unnecessary items.
Home Recording Setup For Vocal Levels Performance And Clean Takes
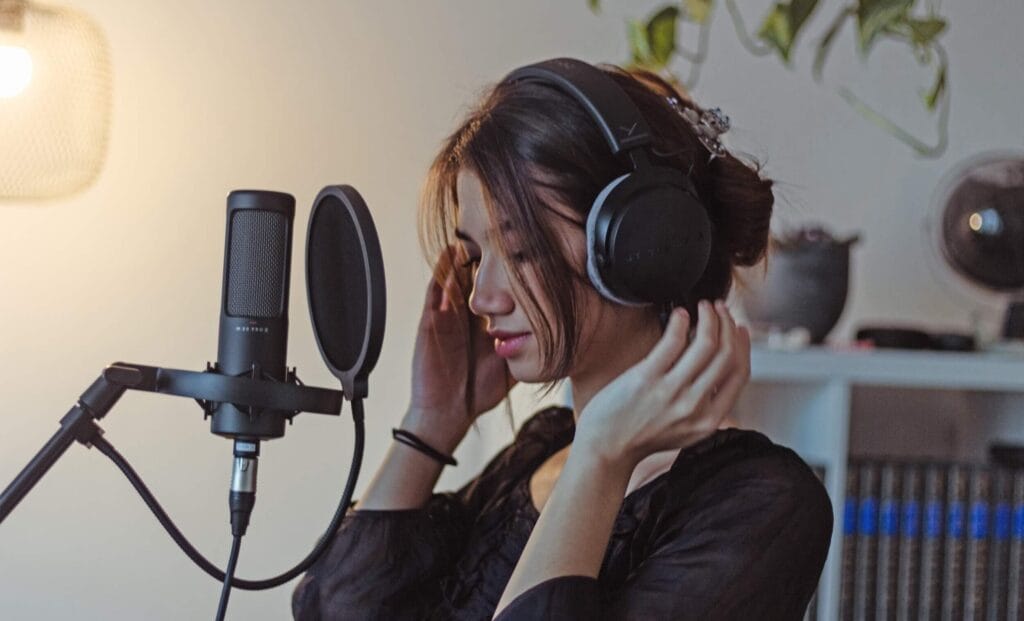
A strong vocal recording depends on both technical setup and performance. A home recording setup should make the singer feel comfortable while also capturing a clean signal. Microphone distance is important.
Standing too close can create heavy bass, breath noise, and popping sounds. Standing too far away can capture too much room sound. A distance of several inches from the microphone is usually a good starting point.
A pop filter should be placed between the singer and microphone. It helps reduce harsh sounds from letters such as “p” and “b”. Recording levels must be set carefully. If the input level is too high, the recording can distort.
If it is too low, noise may become more noticeable later. The goal is to record a strong signal without clipping. Vocal warm ups can improve performance. Even a few minutes of gentle warm up can help the voice feel more controlled and natural.
It is often better to record multiple takes instead of trying to capture a perfect performance in one attempt. Later, the best parts can be selected and edited together. The singer should also focus on emotion, not only technical accuracy.
A clean but lifeless vocal may not connect with listeners. A well prepared home recording setup supports both sound quality and confidence, helping performers deliver cleaner and more expressive takes.
Basic Mixing Editing And Sound Cleanup Tips For Better Results
After recording, editing and mixing help shape the final sound. Beginners do not need advanced techniques to improve a home recording. Basic cleanup can make a big difference.
The first step is organizing the session. Naming tracks, removing unused takes, and cutting long silent sections makes editing easier. Breath sounds do not always need to be removed completely. Some breaths make a vocal feel natural.
However, loud or distracting breaths can be reduced. Equalization helps clean the vocal tone. Removing unnecessary low frequencies can reduce rumble and make the vocal clearer.
Compression helps control volume differences between quiet and loud parts. It can make the vocal sound more consistent, but too much compression can remove natural expression. Reverb and delay can add space and depth.
These effects should be used carefully because too much can make the vocal sound distant or muddy. Noise reduction tools can help, but they should not be overused. Heavy noise removal may damage the natural sound of the recording.
Listening on different devices is useful. Checking the mix on headphones, phone speakers, laptop speakers, and car audio can reveal problems. The most important rule is that good mixing starts with a good recording.
A clean vocal take is much easier to edit and mix than a noisy or distorted one. With simple tools, careful recording habits, and regular practice, a low budget home recording setup can produce clear and enjoyable song recordings.
Beginners should focus on improving one step at a time, because every session teaches something useful about sound, performance, and music production.
See you in the next post,
Anil UZUN